Dynamic Web Template Model for FrontPage 2003 & EW
Characteristics of the Dynamic Web Template (dwt)
The dwt is your webpage template. You will use the dwt to create a new page or attach to an existing webpage. All Side Navigation links and webpage format editing is done on the dwt. When you save any changes to the dwt, all web pages attached are updated. The main body of each webpage is called an EDITABLE REGION. This is the area where all webpage information is created or pasted to. On each webpage the dwt is attached to, the grayed out area is the NON-EDITABLE REGION. This area is only edited on the dwt file.
The dwt is a great feature for the web manager, web maintenance becomes effortless.
This is the code view of the Editable Region of a webpage
<!-- PLACE CONTENT HERE -->
<!--#Begin Editable "body" -->
PLACE ALL YOUR WEBPAGE CONTENT IN THIS REGION
<!-- #End Editable -->
<!-- END CONTENT -->
How to use the Dynamic Web Template (dwt) Model
When you open the dwt model Auxiliary Template in FP or EW, these are
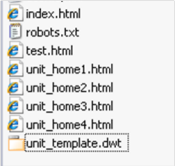 the files
provided. The unit_template.dwt file is the Dynamic Web Template file
you'll be working with. The index.html (Home Page file) plus four
additional web pages unit_home1.html through unit_home4.html are provided
for convenience only. Mostly for you to become familiar with an
Editable Region. If you require more web pages follow the instructions
below for creating new ones. Check out the links to learn more about the workings of a dwt website.
the files
provided. The unit_template.dwt file is the Dynamic Web Template file
you'll be working with. The index.html (Home Page file) plus four
additional web pages unit_home1.html through unit_home4.html are provided
for convenience only. Mostly for you to become familiar with an
Editable Region. If you require more web pages follow the instructions
below for creating new ones. Check out the links to learn more about the workings of a dwt website.
In FP 2003 and EW -
How To Create a new page from the dwt
- Click - File
- Mouse over - New - then on drop down
- Click - Create from Dynamic Web Template
- Click Once to highlight the name of .dwt file (unit_template.dwt)
- Click - Open
- Page created called untitled_1.html
- Save
- Rename to a link web page filename
How To Edit the Side Navigation in the dwt
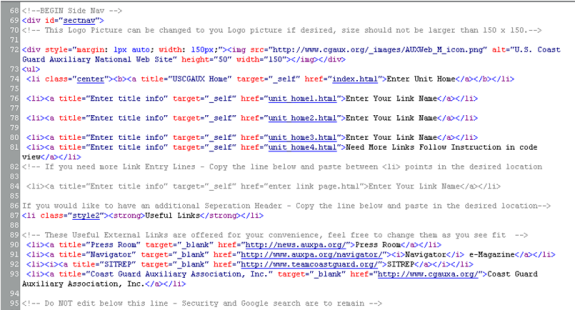
When you open the dwt in code or html view you will notice notes within the code giving instruction on how to add a new webpage link or header. You are not limited to the number of links currently on the Side Nav. You can change or delete any links that are provided. You can also add your unit logo as long as the size does not exceed 150px X 150px. The Side Navigation has a limitation width of 160px. Never exceed this width!
Publish often, don't wait until your website is almost finished to publish. Whether you have a development URL to publish your site or just publish to a file location on your computer you'll want to publish often. Here is a PDF for publishing your files with FrontPage 2003 or Expression Web.
The Security and Google Search are to remain on the Side Navigation, Do Not Remove!
How To Update the dwt and all attached webpages
- Open the unit_template.dwt file, edit the file
- Click - File > Save
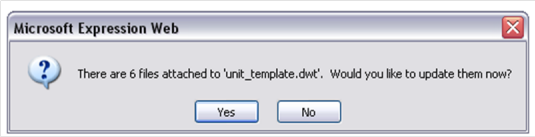
- Click - Yes this action updates all attached files in your website
-
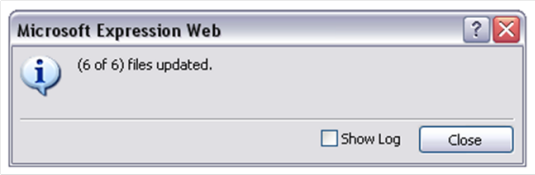
Congratulations, You have successfully updated all attached webpage's in your site. The number of files will change depending on how many webpage files are attached to the dwt.
How To Attach a dwt to an existing webpage
- Using the Test Page - Paste the Body Area (content) of your existing web page, DO NOT Bring the Old Side Navigation
- Edit any information or formatting required until satisfied
- Remove all table formatting - Place your cursor in the table
- Select Table from the toolbar, In the drop down Click Convert> Table to Text
- Repeat until all previous Table properties are removed
- Click - File > Click - Save As
- Enter File name of webpage and Click Save
- Working on your newly saved webpage - Open the Code or Html View
- Look for the </head> tag, this tag should be just above the <body> tag
- Highlight the </head> tag and Right Click - Copy
- Now delete the Highlighted </head> tag
- Scroll to the bottom of the code and locate the </body> tag
- Place your cursor into the code right after the </body> tag
- Right Click - Paste (this action should have pasted the </head> tag between </body> and </html> tags)
- Click File - Save
- Click Format - Click Dynamic Web Template
- Click Attach Dynamic Web Template
- Click Once to highlight the name of .dwt file (unit_template.dwt)
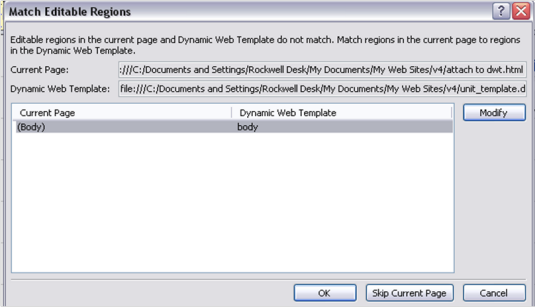
- Click Open - You should receive a warning message similar to this
message

- Click Yes - (In the previous steps we moved the </head> tag, which preserves the content of the page placing it in the EDITABLE REGION of the webpage.
-
Click Body to highlight than Click OK
Congratulations, you should now have a webpage with the dwt attached to it - the Editable region is the Title and Body of the webpage. You will notice this area is white.
The Non-Editable Region of each webpage is Gray - DO NOT Change the code in the grayed out area - This area is ONLY changed on the dwt file.
More tutorials are available for Expression Web and FrontPage, click here for links